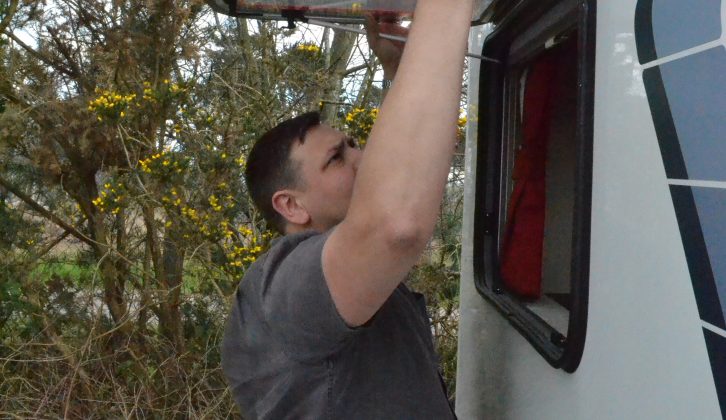
Replacing a cracked windshield in your motorhome might sound like a job for professionals only, but with the right tools, a bit of patience, and some careful planning, it’s entirely possible to do it yourself. Not only can this save you money, but it also gives you a greater understanding of your vehicle’s structure. Below are the easy-to-follow steps to handle your motorhome windshield replacement efficiently.
Safety First: Assess the Damage
Before diving into the replacement process, take a close look at the damage. If the crack is minor, under a few inches, a repair kit might suffice. However, if the crack compromises visibility or has spread across the glass, a full replacement is necessary. Make sure you work in a well-lit, dry area and wear protective gear such as gloves and safety glasses.
Gather the Essential Tools and Materials
Here’s what you’ll need for your motorhome windshield replacement:
-
New windshield (compatible with your motorhome make and model)
-
Urethane adhesive or sealant
-
Windshield removal tool or cold knife
-
Suction cups or windshield lifter
-
Painter’s tape
-
Utility knife
-
Clean cloth and glass cleaner
Having all tools within reach will save you time and ensure the process goes smoothly.
Step 1: Remove the Damaged Windshield
Start by carefully removing any trim, molding, or weatherstripping around the windshield. Use a utility knife or cold knife to cut through the urethane adhesive holding the old glass in place. If available, a windshield removal tool will make this step much easier. With a partner or suction cups, lift the broken windshield out of the frame and set it aside safely.
Step 2: Clean and Prep the Frame
Once the old glass is removed, clean the pinch weld (the metal edge that holds the glass) thoroughly. Remove any leftover adhesive using the utility knife and clean the area with alcohol or a suitable cleaner. A smooth, clean surface is critical for a proper seal and fit for the new windshield.
Step 3: Apply Urethane Adhesive
Apply a continuous, even bead of urethane adhesive around the edge of the windshield frame. Make sure to follow the manufacturer’s instructions regarding bead size and application method. This step is crucial as the adhesive is what securely holds the windshield in place and prevents leaks.
Step 4: Install the New Windshield
Using suction cups or with help from another person, carefully position the new windshield over the frame. Gently lower it into place, ensuring it aligns perfectly with the edges. Once positioned, press it firmly but carefully into the adhesive to secure it.
Step 5: Secure and Set
Use painter’s tape to hold the windshield in place while the adhesive cures. Follow the adhesive manufacturer’s recommended curing time before driving or exposing the motorhome to extreme weather. This typically takes at least 24 hours.
Step 6: Replace Trim and Clean Up
Once the adhesive has cured, reinstall the trim, molding, and any weatherstripping you removed. Clean the new windshield thoroughly to remove any fingerprints or adhesive residue.
Final Thoughts: Confidence on the Road
Completing a motorhome windshield replacement on your own can be a rewarding experience, giving you both savings and satisfaction. However, if at any point you feel unsure, don’t hesitate to consult a professional. Safety should always be the top priority when working with large automotive glass.
By following these simple steps, you can get your motorhome back in shape and hit the road with clear views and renewed confidence.

